
What Is Bleed?
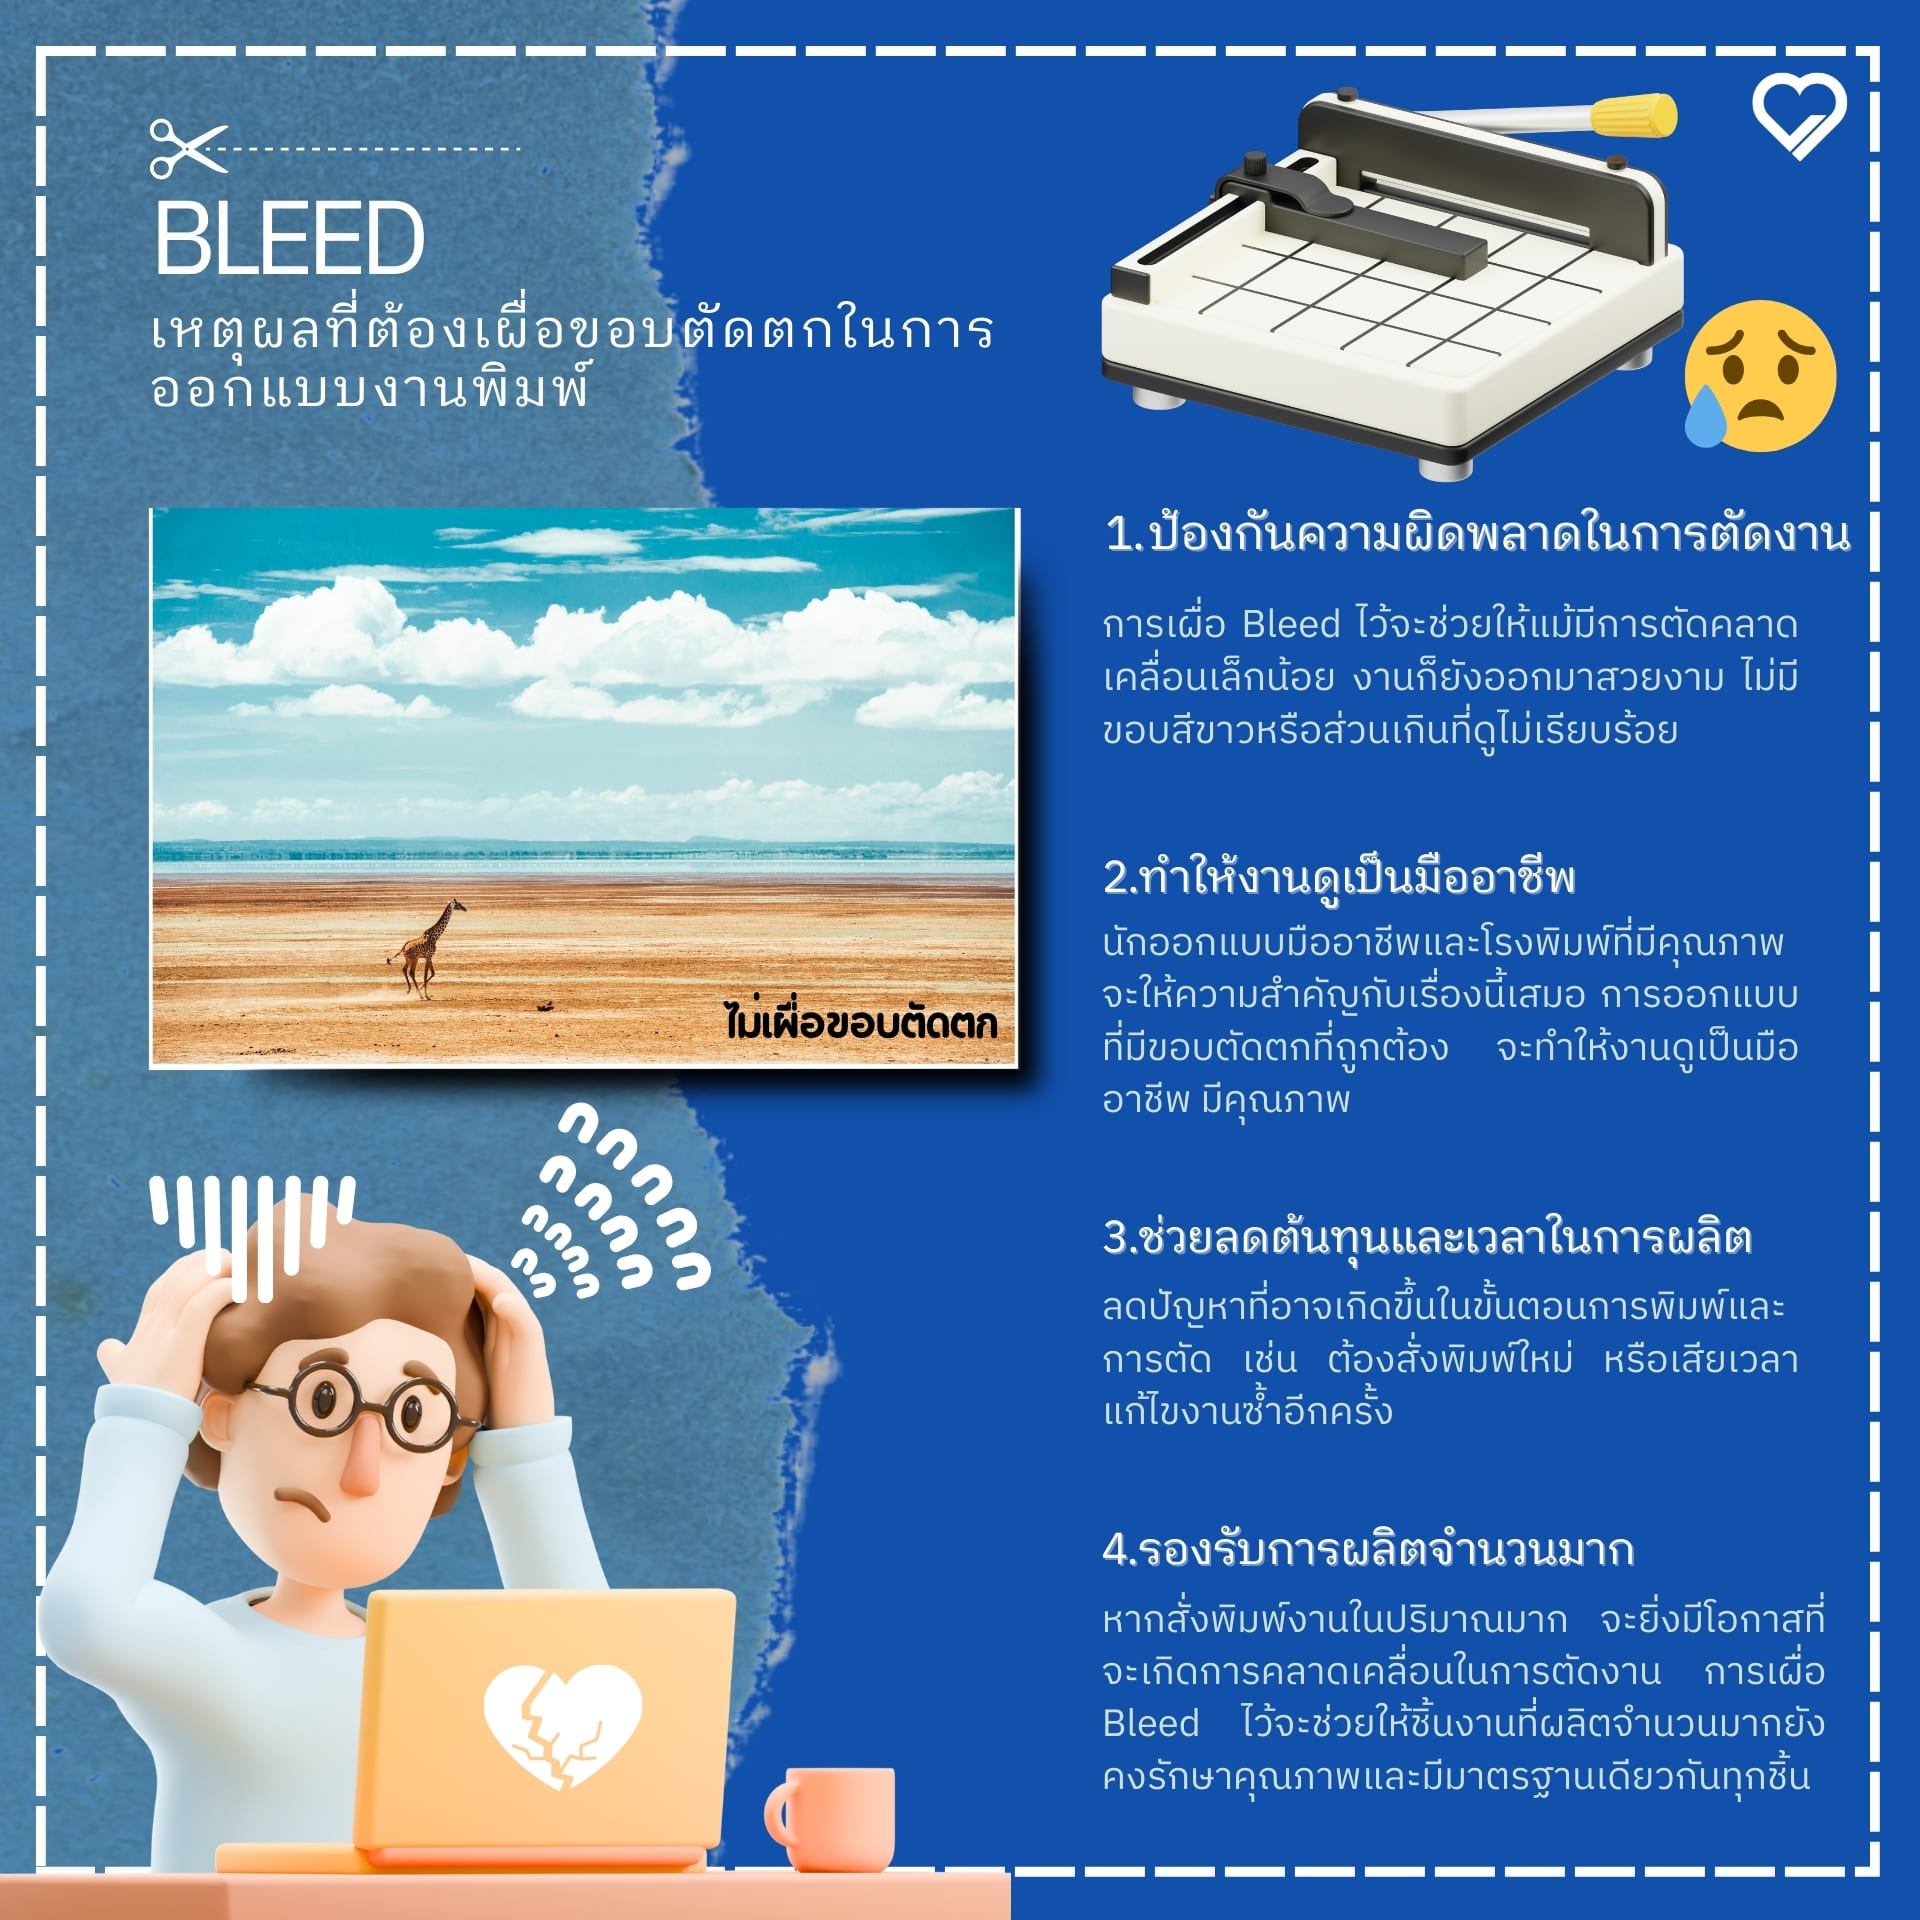
Bleed is the portion of an image or design that extends beyond the final trim size, providing an allowance for trimming after printing. Typically, bleed is set to at least 3 millimeters (0.125 inch) beyond the finished size, though this can vary depending on the product or your print provider’s specifications.Bleed matters because printed pieces—such as flyers, brochures, books, or packaging—are trimmed by machines. Even precise cutters can have slight variance, typically around 1–2 millimeters.
If a design has no bleed, even minor trimming deviation can create unwanted white edges or cut into important content, harming the appearance and brand image of the printed piece.

Why You Should Always Add Bleed
1. Prevent trimming errors
The final step of print production is trimming to the desired size. Paper cutters can have small inaccuracies. Setting proper bleed ensures that even with slight deviation, the result remains clean, with no white edges or messy overruns.
2. A more professional look
Bleed is an industry standard. Professional designers and quality print houses always prioritize it. Correct bleed makes your work look professional, high-quality, and trustworthy for your brand or organization.
3. Save time and cost
When bleed is set correctly from the design stage, it reduces issues during printing and trimming—such as reprints or repeated corrections—saving both time and cost.
4. Suitable for mass production
For large-volume jobs—for example, tens or hundreds of thousands of flyers—slight variance is more likely. Proper bleed helps ensure consistent, standard quality across every piece.
How to Set Bleed in Your Design
Adobe Illustrator and Adobe InDesign include dedicated bleed settings, which you can configure per your printer’s recommendation (typically 3–5 millimeters).
If you design in Photoshop, you can increase the canvas size by about 3 millimeters beyond the final size and extend background elements into that added area.
Additional Tips About Bleed
- Do not place important text or elements too close to the trim edge. Keep at least a 5–10 millimeter safe margin to avoid cutting into key content.
- Consult your print provider before designing to confirm bleed values appropriate for their equipment.
- Preflight and check files before sending to print to ensure bleed is correctly set, preventing potential errors.

Conclusion: Why Bleed Matters
Bleed is essential for anyone preparing print-ready files. Proper setup helps deliver a flawless, professional result, reduces production risk and reprint costs, and strengthens your brand image.
Before sending files to your printer, carefully double-check that bleed has been added appropriately, so your final output achieves excellent quality and suits your intended use.